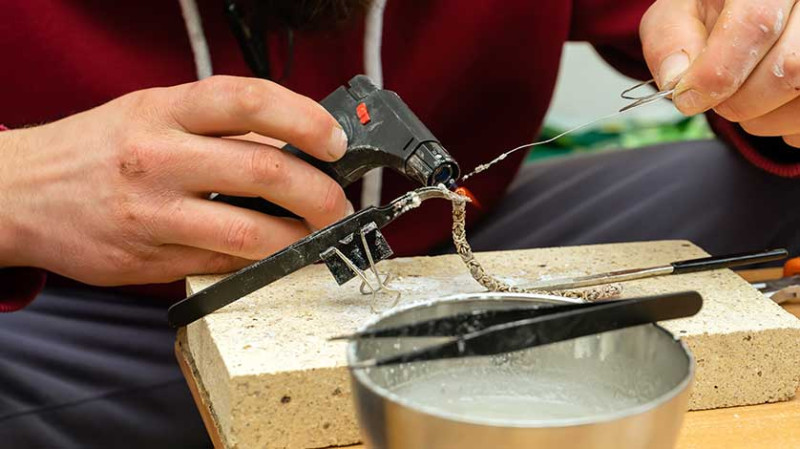
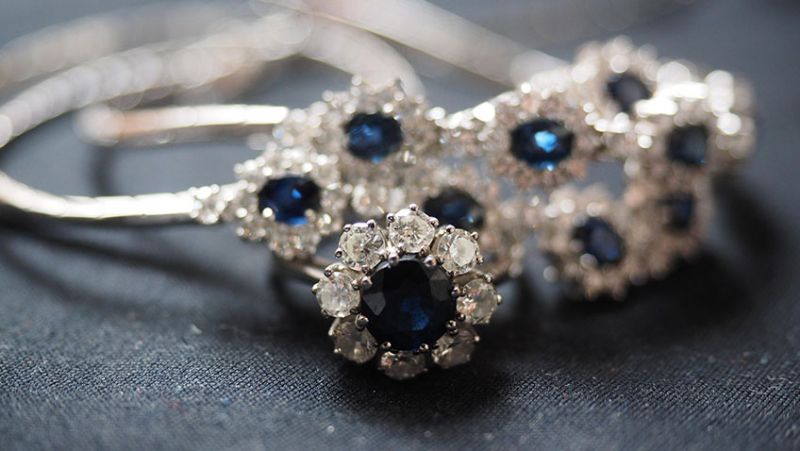
Silver soldering is a vital technique that delivers strong, clean, and professional joints. Whether you're a DIY enthusiast repairing jewellery, a young homeowner tackling piping projects, an architect working on decorative fixtures, or a seasoned tradesperson in the UK, mastering silver soldering can elevate your work to a higher standard. While it may seem like a challenge to get perfect results every time, there are insider secrets that can make all the difference.
In this guide, we reveal five essential tips used by professionals to achieve precise, durable, and aesthetically pleasing silver solder joints every time you pick up your torch. Let’s dive straight in!
1. Preparation is Everything: Clean Surfaces Are Key
Ask any seasoned metalworker what the most important aspect of soldering is, and they’ll likely tell you it’s all in the preparation. In fact, one of the most common reasons silver solder fails to flow properly or create a strong bond is due to dirty or oxidised surfaces.
Before you apply any solder, make sure both surfaces are meticulously cleaned. Use emery cloth, sandpaper, a wire brush, or steel wool to remove any oxidation, grease, or dirt. When possible, wipe the joint area with isopropyl alcohol to eliminate any hidden contaminants.
Even fingerprints can leave oils on the metal that could interfere with the bond. Don’t underestimate the level of cleanliness required; thinking “that looks clean enough” can lead to weak joints that may fail over time.
For pipework and plumbing applications, consider using specific metal cleaning solutions designed for copper or brass to ensure optimal bonding. When it comes to silver soldering, being thorough with cleaning often separates amateur from professional results.
2. Choose the Right Flux for the Job
Flux is not just an optional extra—it’s a crucial part of the silver soldering process. Its primary role is to prevent oxidation during heating and help the solder flow more freely. Without it, the solder might ball up and refuse to stick properly.
There are different types of flux available—liquid, paste, and powder. For small, delicate work like jewellery or electronics, a liquid flux may offer more precision. For plumbing, larger joints, or robust metalwork, a paste flux is preferred due to its durability at higher temps.
Make sure to apply flux generously across the entire area to be joined—not just at the seam. This ensures that as the solder flows, the area beneath it remains protected from oxidation and contaminants.
For UK-based soldering projects, look for fluxes that comply with British Standards (such as BS EN ISO 9453) to guarantee safety and effectiveness. The right flux helps ensure a strong, seamless joint the first time—saving rework, time, and money.
3. Control Your Heat: Flame Placement & Temperature Matter
One of the hallmark mistakes of beginner soldering is applying too much heat—or applying it incorrectly. Silver solder melts at a lower temperature than the base metal, so your goal is to heat the base metal until it can pull the solder into the joint through capillary action.
A common misconception is that you should apply the flame directly to the solder. In reality, the flame should be aimed at the metal surfaces near the joint. Once they are sufficiently hot, gently feed the solder in, and watch it flow beautifully into the connection.
For even heating, move the flame around the joint rather than concentrating it in one spot. Uneven heating can cause one side to overheat and oxidise while the other side is too cold for soldering—a recipe for a weak or failed bond.
When using a butane torch (common in household and hobbyist setups), remember that it may struggle with larger joints or in outdoor environments. In such cases, switching to propane or MAPP gas can offer a more concentrated and hotter flame, better suited for larger projects.
4. Use the Correct Solder for Your Project
Silver solder comes in varying compositions, each designed for specific tasks and temperature ranges. For home DIY in the UK, you're likely to encounter three common grades: easy, medium, and hard silver solder. Each has a different melting point:
| Solder Type | Melting Temp (°C) | Best For |
|---|---|---|
| Easy | ~705°C | Final joins, quick repairs |
| Medium | ~720°C | Second joins in multi-step assembly |
| Hard | ~745°C | First joins in a complex assembly |
Most professional tradesmen and craftspeople use the hard solder first to create the core structure, then move on to medium and finally easy solder for subsequent joints—this ensures earlier joints don't remelt while working on new ones.
By selecting the correct solder and planning your assembly in stages, you’ll avoid a lot of hassle and ensure that each joint holds up over time. You’ll also gain more control over the aesthetic finish, especially for visible projects like architectural metalwork or feature fittings in the home.
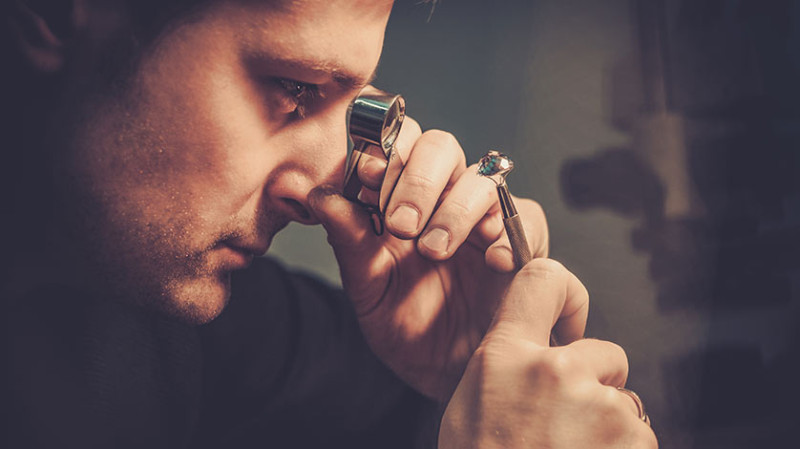
5. Finish Like a Pro: Clean-Up and Inspection
After you've successfully soldered a joint, the project isn’t over. A true professional finish means paying attention to post-solder clean-up and examining your work. When solder cools, flux residue and oxidation often leave a dark, crusty surface.
To restore shine and remove residue, immerse your soldered parts in a pickle solution—a mild acid bath specifically designed to clean metal surfaces after heating. For home use, many DIYers in the UK use citric acid, which is both effective and safe to handle with care.
If you're working with plumbing, make sure to flush the pipes thoroughly post-solder to remove any residual chemicals. For joints used in aesthetic applications—such as bespoke light fittings, railings, or indoor features—follow the pickle with a gentle polishing process using fine steel wool or polishing compounds to bring out that clean silver joint.
Finally, inspect each joint. It should be smooth, with solder fully wicked into the joint and no gaps or rough patches. If you spot cold joints (dull or cracked solder), you may need to reheat and reapply. Good habits in post-solder finishing not only enhance appearance but also ensure structural integrity.
Conclusion: Practice Makes Perfect!
Mastering silver soldering takes patience, practice, and knowledge of the small but crucial tricks of the trade. By following these five secrets—thorough cleaning, smart flux selection, proper heat control, right solder choice, and professional finishing—you’re one step closer to producing flawless joints every time.
Whether you’re tackling a custom kitchen project in Sheffield, restoring vintage lamps in Bath, or building contemporary stair railings in London, applying these techniques will give your work the edge it deserves.
Looking for tools, flux, or high-quality silver solder in the UK? Check out our carefully curated collection of silver soldering supplies and become a soldering pro at home or on site.

Trending articles
-
5 Secrets to Perfect Silver Soldering ...
23 Apr, 2025
-
 The Ultimate Guide to Choosing the ...
14 Mar, 2025
The Ultimate Guide to Choosing the ...
14 Mar, 2025
-
 How to Choose Earrings ...
15 Aug, 2022
How to Choose Earrings ...
15 Aug, 2022
-
 Best Watches for Men ...
11 Aug, 2022
Best Watches for Men ...
11 Aug, 2022
-
 What to Consider When Buying an ...
08 Aug, 2022
What to Consider When Buying an ...
08 Aug, 2022
-
 Top Tips for Shopping for Jewellery ...
08 Apr, 2022
Top Tips for Shopping for Jewellery ...
08 Apr, 2022